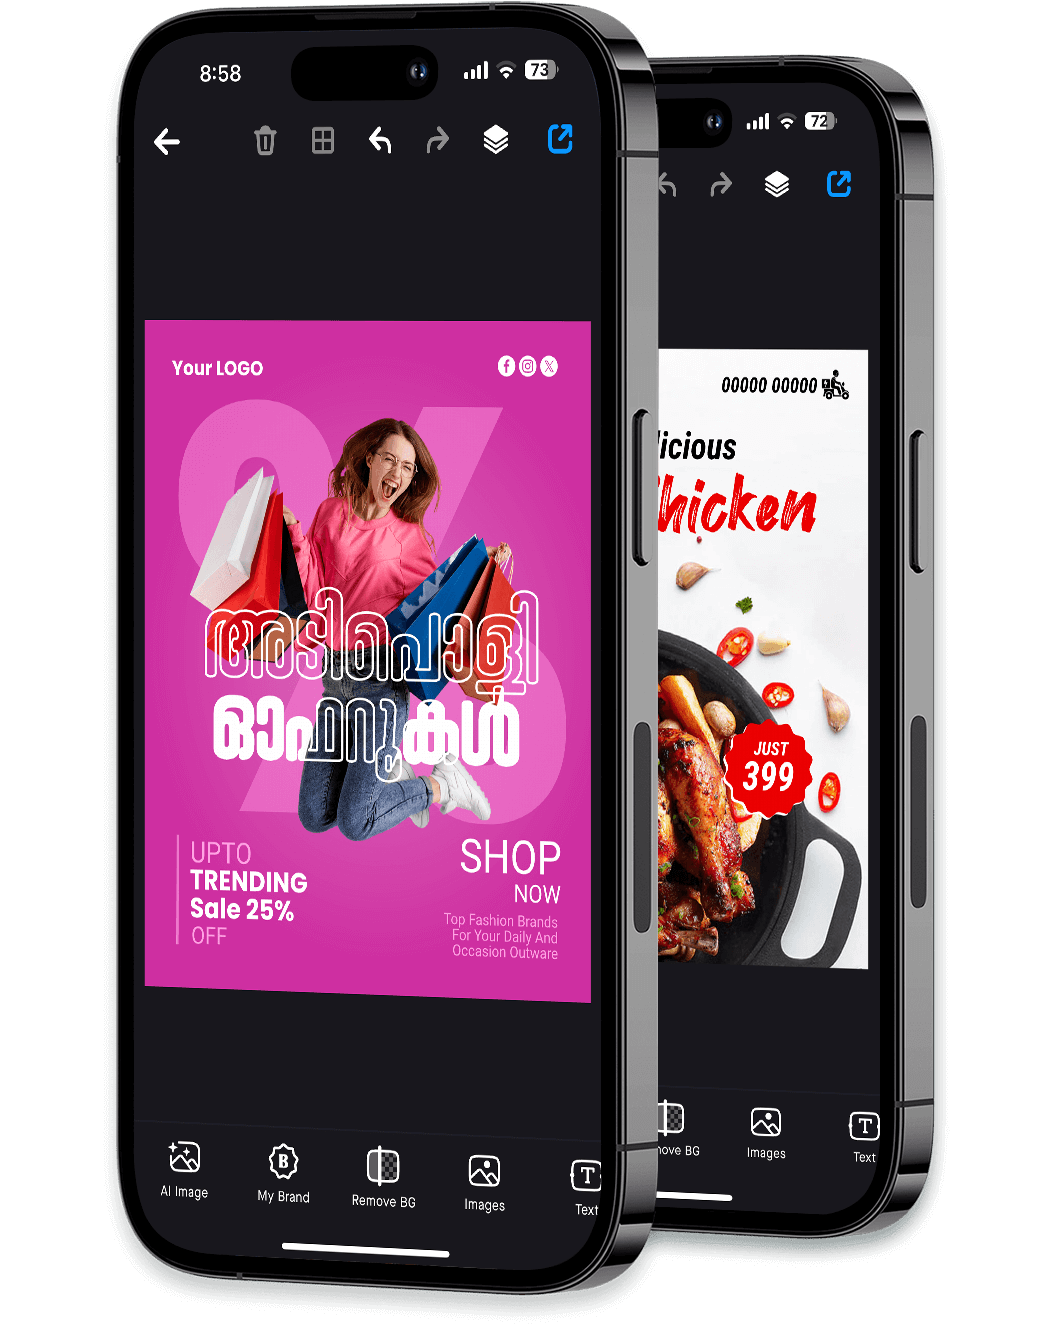
Download the Burfy App now!
A powerful tool to create shareworthy content in your own language.


In conclusion, the thermal printer POS9210L driver link is essential for seamless integration with your POS system. By following the guide above, you should be able to download, install, and troubleshoot the POS9210L thermal printer driver. Remember to always check for driver updates and follow the manufacturer's instructions for installation and troubleshooting. If you're experiencing issues, don't hesitate to contact the manufacturer's support team for assistance.
The requires a specific communication driver to handle 4x6 inch shipping labels and waybills seamlessly across Windows and macOS. When setting up this device, getting the authentic thermal printer pos9210l driver link ensures that your system correctly processes print widths up to 100mm without scaling or alignment issues.
To prevent your labels from printing blurry, too light, or off-center, update these settings in your operating system's printer preferences:
is connected to your computer via USB, powered on, and loaded with thermal label paper.
Before starting the installation, ensure your POS9210L is plugged into a power source, turned on, and connected to your computer via the provided USB cable. How to Install on Windows
Most POS9210L printers come with a included in the package. This is often the most reliable source, as the driver is guaranteed to be compatible with your specific unit.
Download the setup files from the ZJIANG ZJ-9210 / POS-9210 Driver Portal.
Re-check Step 3 (Page Setup) to ensure the 4x6 size is set as default. Driver Conflicts:
. The installer should automatically detect the specific USB port the printer is using. Install Driver to complete the process. Swash India 3. Configuration & Test Print Settings > Devices > Printers & Scanners in Windows. Find the new printer (often named " LABEL-9210 " or similar) and click Manage > Printing Preferences Ensure the paper size is set to 100mm x 150mm (4x6 inches) for standard shipping labels. Print Test Page to verify the connection. 💡 Troubleshooting Tips Garbled Text
Encountering issues? Here are some common problems and their solutions:
This ZIP archive contains the necessary software to get your printer communicating with your Windows computer, including both the main setup utility and crucial installation instructions.
If the computer does not see the printer, try a different USB port or replace the USB cable. Ensure the driver matches your specific operating system version. 🌟 Key Specifications Resolution:
Download the driver from the link above, right-click the zipped folder, and select "Extract All." Connect the Printer: Ensure the
Unlock the full power of Burfy with our affordable premium plans, thoughtfully priced.
Basic Editing
Unlimited Exports
Limited Font Access
Free Templates
Limited Canvases
Remove Backgrounds from Photos
Remove Watermarks
Custom Canvas Sizes
Generate AI Images
All Premium Templates
All Regional Fonts
Upload Your Brand Kit
Premium Design Elements
Add Your Own Fonts
Remove Backgrounds from Photos
Remove Watermarks
Custom Canvas Sizes
Generate AI Images
All Premium Templates
All Regional Fonts
Upload Your Brand Kit
Premium Design Elements
Add Your Own Fonts
A powerful tool to create shareworthy content in your own language.
In conclusion, the thermal printer POS9210L driver link is essential for seamless integration with your POS system. By following the guide above, you should be able to download, install, and troubleshoot the POS9210L thermal printer driver. Remember to always check for driver updates and follow the manufacturer's instructions for installation and troubleshooting. If you're experiencing issues, don't hesitate to contact the manufacturer's support team for assistance.
The requires a specific communication driver to handle 4x6 inch shipping labels and waybills seamlessly across Windows and macOS. When setting up this device, getting the authentic thermal printer pos9210l driver link ensures that your system correctly processes print widths up to 100mm without scaling or alignment issues.
To prevent your labels from printing blurry, too light, or off-center, update these settings in your operating system's printer preferences:
is connected to your computer via USB, powered on, and loaded with thermal label paper. thermal printer pos9210l driver link
Before starting the installation, ensure your POS9210L is plugged into a power source, turned on, and connected to your computer via the provided USB cable. How to Install on Windows
Most POS9210L printers come with a included in the package. This is often the most reliable source, as the driver is guaranteed to be compatible with your specific unit.
Download the setup files from the ZJIANG ZJ-9210 / POS-9210 Driver Portal. In conclusion, the thermal printer POS9210L driver link
Re-check Step 3 (Page Setup) to ensure the 4x6 size is set as default. Driver Conflicts:
. The installer should automatically detect the specific USB port the printer is using. Install Driver to complete the process. Swash India 3. Configuration & Test Print Settings > Devices > Printers & Scanners in Windows. Find the new printer (often named " LABEL-9210 " or similar) and click Manage > Printing Preferences Ensure the paper size is set to 100mm x 150mm (4x6 inches) for standard shipping labels. Print Test Page to verify the connection. 💡 Troubleshooting Tips Garbled Text
Encountering issues? Here are some common problems and their solutions: If you're experiencing issues, don't hesitate to contact
This ZIP archive contains the necessary software to get your printer communicating with your Windows computer, including both the main setup utility and crucial installation instructions.
If the computer does not see the printer, try a different USB port or replace the USB cable. Ensure the driver matches your specific operating system version. 🌟 Key Specifications Resolution:
Download the driver from the link above, right-click the zipped folder, and select "Extract All." Connect the Printer: Ensure the